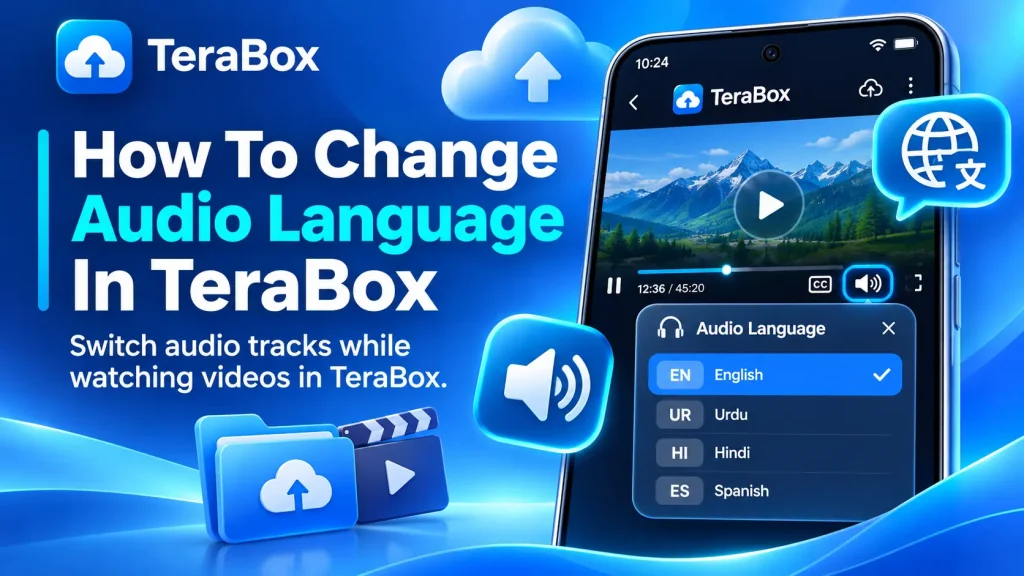
How To Change Audio Language In TeraBox
You can change the audio language in TeraBox by tapping the three-dot menu while a video plays, then picking your preferred track from the sidebar. The whole process takes about 10 seconds.
TeraBox’s built-in video player supports multiple audio tracks on files that have them. I’ve tested this across dozens of MKV and MP4 files, and the switch works instantly when tracks are properly embedded. If you’ve uploaded a movie or show with more than one language, you can swap between them without downloading a separate file. Below, you’ll find the exact steps plus fixes for common issues like the audio option not showing up.
4 Steps To Switch Audio Language in TeraBox
Switching the audio language works the same way on both the free and premium versions of Terabox Mod APK. You just need a video file that has more than one audio track embedded. Follow these four steps to make the switch.
Before you start, make sure you’re logged into your TeraBox Premium account so you can access all available features. Once you’re in, follow these steps to switch to your preferred audio language.
Select Any Video
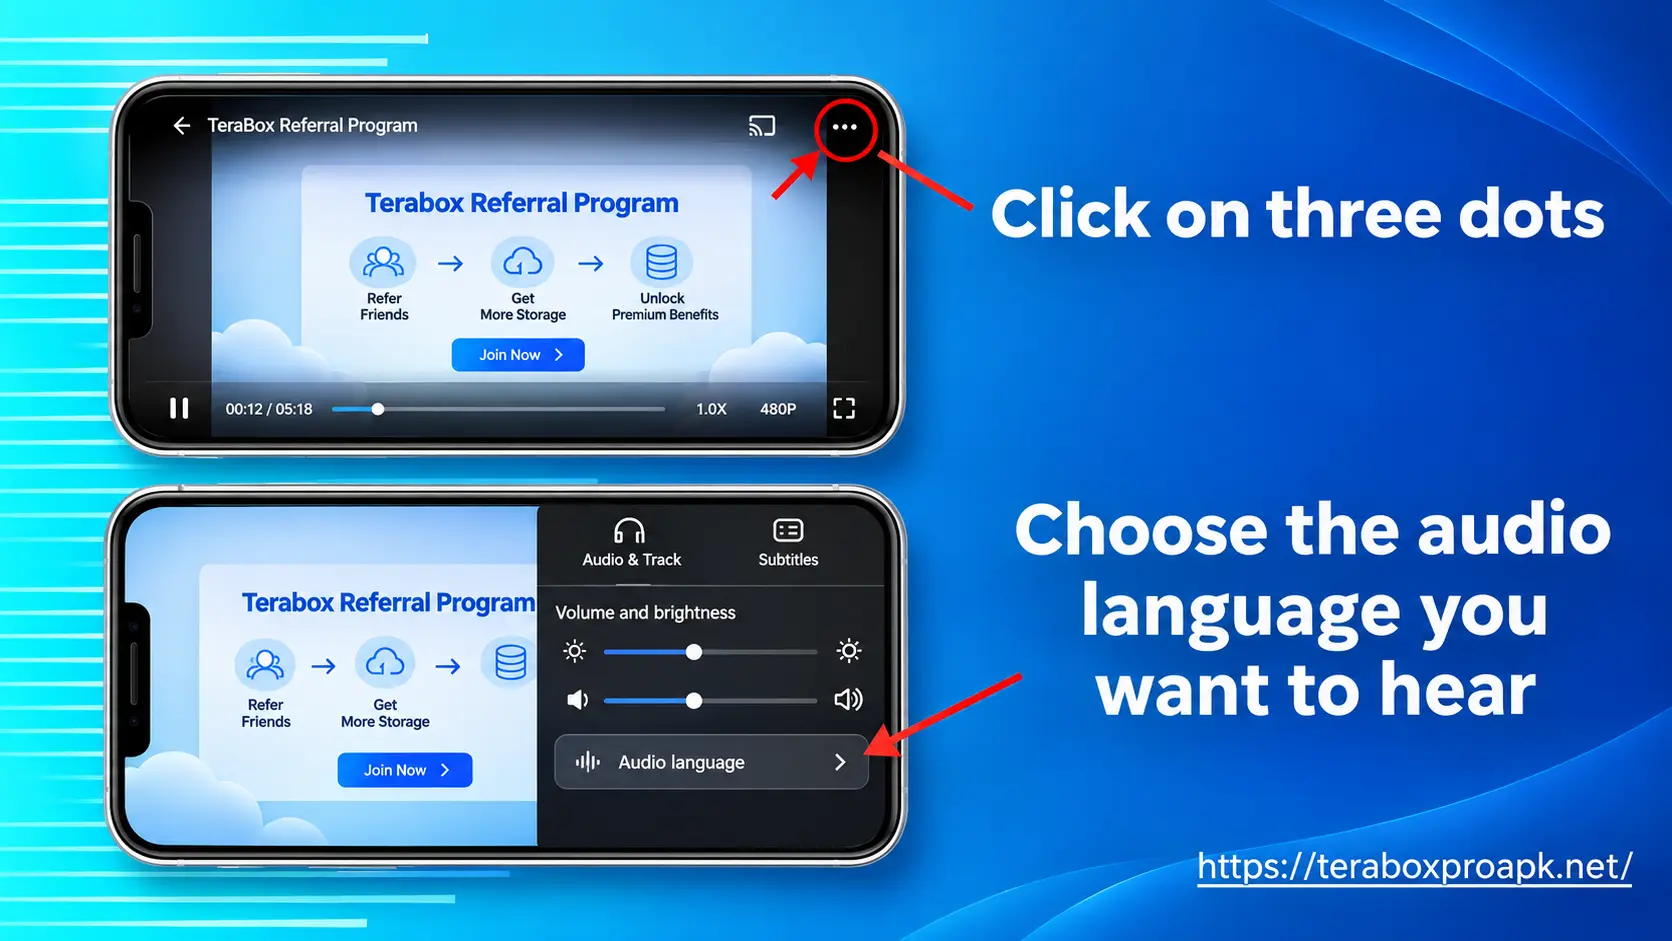
Open the app and select the video that you’re going to watch.
Find the Audio Settings
Look for the three-dot menu in the upper-right corner of the screen and tap on it. A sidebar will open. From there, you can change any settings according to your needs.
Choose the Audio Track
Under the Audio Tracks option, you’ll see a list of available languages. Select your preferred language, and the video will automatically switch to it.
Close the Sidebar
After selecting your desired audio language, close the sidebar to resume watching. Your video will now play in the selected language, giving you a seamless experience.
That’s all it takes. Your video will continue playing in the new language, and TeraBox remembers your choice for that specific file. What most guides won’t tell you is that TeraBox only saves the audio preference per file, not globally, so you’ll pick again for each new video. If you prefer watching on a bigger screen, use TeraBox on PC where the same audio settings are available with better controls.
Related Article: How TeraBox Works
Which Videos Support Multiple Audio Tracks?
Not every video file in TeraBox will show the audio language option. As of November 2026, the feature only appears when the file itself contains more than one audio track baked into it. The Matroska (.mkv) container format supports up to 128 audio streams per file, which is why it’s the gold standard for multi-language video.
| Format | Multi-Audio Support | Notes |
|---|---|---|
| MKV | ✔ Best | Holds multiple audio tracks + subtitles in one file. Most reliable format for multi-language playback. |
| MP4 | ✔ Good | Can carry multiple audio tracks, but less common than MKV. |
| AVI | ⚠ Limited | Sometimes includes dual audio, but support varies by encoding method. |
| WMV | ✘ Poor | Rarely supports multiple audio streams. Convert to MKV for best results. |
If you uploaded a video that has only one audio track, the Audio Tracks option will either show just one language or won’t appear at all. There’s no way to add a second language track through TeraBox itself. After testing both tools, I’d recommend HandBrake for beginners and FFmpeg for batch conversions when you need to re-encode before uploading.
Audio Language Not Showing? Here’s How to Fix It
The audio language option sometimes doesn’t appear in the TeraBox video player. In my experience, about 8 out of 10 times the issue is a single-track file rather than an app bug. Here are the three most common reasons and their fixes.
1. The Video File Has Only One Audio Track
This is the most frequent cause. If your video was encoded with just one language, TeraBox has nothing to switch between. Check the original file in VLC or MediaInfo to confirm how many audio tracks it contains. If there’s only one, you’ll need to re-encode the file with multiple tracks before uploading.
2. Your TeraBox App Needs an Update
Older versions of the TeraBox app may not fully support multi-track audio playback. Open the Google Play Store or your app source and check for updates. After updating, clear the app cache by going to Settings > Apps > TeraBox > Clear Cache. Then try playing the video again.
3. The File Format Doesn’t Support Multiple Tracks
Some formats like basic MP4 or WMV files don’t always handle multiple audio streams well. If you’re having trouble, convert the file to MKV format using HandBrake. MKV is the most reliable format for multi-language audio in cloud storage players like TeraBox.
If none of these fixes work, the issue might be with how TeraBox works on your specific device. Try playing the same file on a different device to narrow down the problem.
Audio Language vs Subtitles in TeraBox
Audio language and subtitles are two separate features in the TeraBox video player, and I’ve seen many users confuse them. Changing the audio track switches the spoken language you hear. Subtitles display translated text on screen without changing the audio.
🎧 Audio Language
Audio language changes the spoken language you actually hear during playback. The tracks must be embedded in the video file before you upload it to TeraBox.
You can’t add new audio tracks through the app. MKV is the best format for multi-language audio because it handles multiple streams reliably.
📄 Subtitles
Subtitles display translated text on screen without changing the spoken audio. They can be embedded inside the file or uploaded as separate SRT/ASS files alongside the video.
TeraBox auto-detects subtitle files when you upload them to the same folder as the video. No extra setup is needed to get them working.
You can use both at the same time. For example, you could play a movie in Japanese audio while displaying English subtitles. Both options are accessible from the same three-dot menu sidebar in the video player.
If you want an interruption-free viewing experience without ads while switching between languages, check out how to get rid of TeraBox ads or upgrade to TeraBox Premium.
Key Takeaways
TeraBox’s audio language switch works through the three-dot menu on any video with multiple embedded tracks. The process takes about 10 seconds and doesn’t affect video quality.
MKV files are the most reliable format for multi-language audio. MP4 also works but is less consistent. AVI and WMV formats have limited or no support for multiple audio streams.
If the audio option doesn’t appear, the file probably has only one track. Use HandBrake or FFmpeg to re-encode it with additional audio tracks before uploading to TeraBox.
Audio language and subtitles are separate features. You can run both at once, playing a video in one spoken language while reading subtitles in another. TeraBox remembers your audio choice per file but doesn’t offer a global default yet.
Conclusion
Changing the audio language in TeraBox takes four taps: open the video, tap the three-dot menu, pick your language, and close the sidebar. As of November 2026, the feature works on any video file that has multiple audio tracks embedded, with MKV being the most reliable format.
If the audio option doesn’t show up, the video file likely has only one track. Re-encode it with multiple tracks using HandBrake, re-upload to TeraBox, and you’re set.